THE PLAN - Give the kids the parts, share an
editable google doc with some suggestions to get started and let them go.
THE GOALS
- Use the Raspberry Pi to control some holiday lights that I will place in the lab
- Use it to work a 7 segment LED to produce numbers
- Learn
- Have fun
Well the first step was to learn how to properly spell raspberry - DONE
I have been playing around with the Raspberry Pi for the last few months and decided that I should have an elective that would include Python programming and the "maker" idea of assembling and using a
Raspberry Pi - ($40+ computer). Aside from all the wonderful 21st century teaching and STEAM initiatives, it's just a great thing and I enjoy this kind of tinkering.
I ordered the following and made a little kit (so the $45 turns into a little more like $200+)
- HDMI monitor
- Raspberry Pi kit
- Starter Pro Sensor input kit
- Project starter kit
I placed the kit into a box and gave one to each of the 3 students who chose to take the elective.
 |
| Basic kit |
 |
| The Pi Kit as it came ($60) |
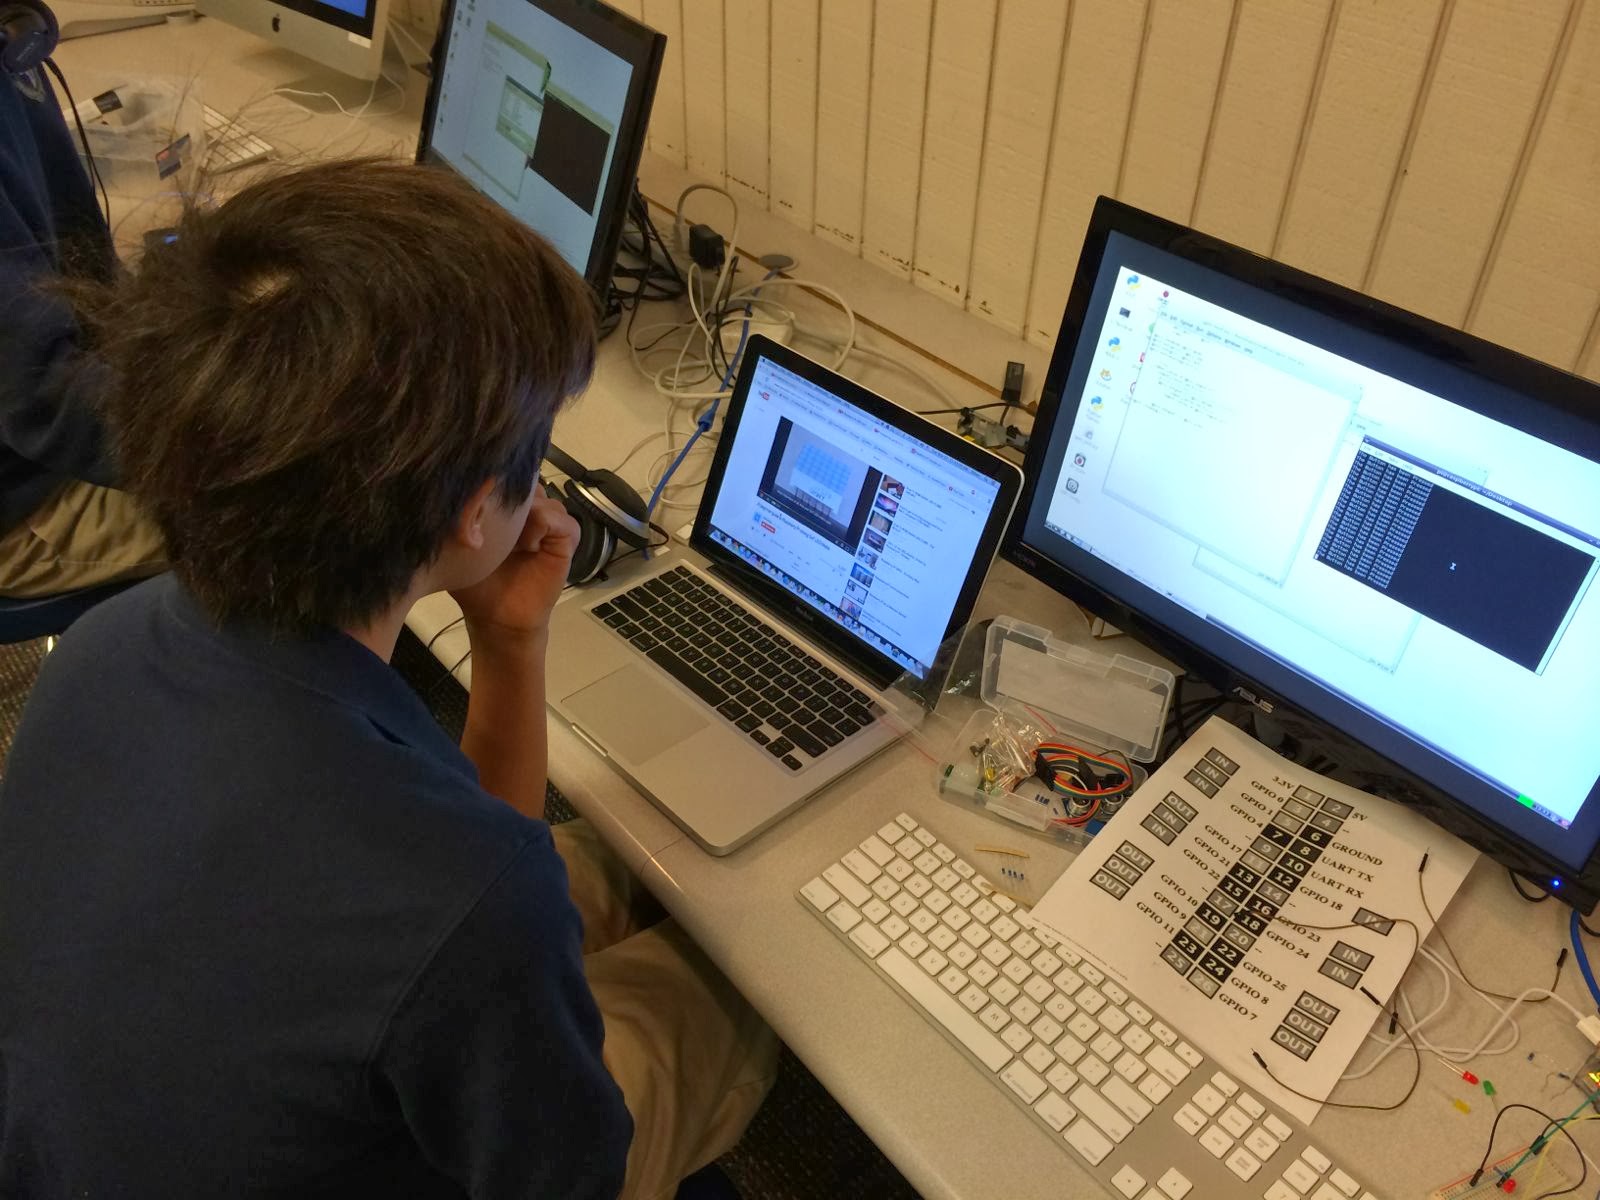
They received the parts, unpacked and started putting things together!
 |
| Unpacking the monitors |
 |
| Placing OS on SD card |
Day 1 complete